
How to clean resin keycaps correctly requires gentle tools, mild cleaning products, and careful handling. Unlike ordinary plastic caps, artisan resin keycaps may contain hand-painted figures, transparent layers, or delicate raised details. This guide shows you how to remove dust, fingerprints, and stubborn grime without scratching the surface, weakening the stem, clouding the resin, or damaging the miniature artwork inside.
Why resin keycaps need special cleaning care
Artisan resin keycaps differ from mass-produced ABS and PBT models. They are commonly cast in multiple layers, polished by hand, and decorated with embedded figures, paint, dried flowers, or metallic elements. Although cured epoxy is durable, its glossy finish remains vulnerable to inappropriate cleaning methods.
Skin oils can create a cloudy film, while dust often settles around sculpted details and narrow grooves. Hot water may affect glued components or deform the stem. Harsh chemicals such as acetone, bleach, concentrated alcohol, and abrasive polish can dull the surface or damage exposed paint.
Before cleaning an expensive artisan piece, check the maker’s care instructions. A fully encapsulated design may tolerate brief contact with water, whereas a keycap containing exposed decorations should only be wiped with a slightly damp cloth.
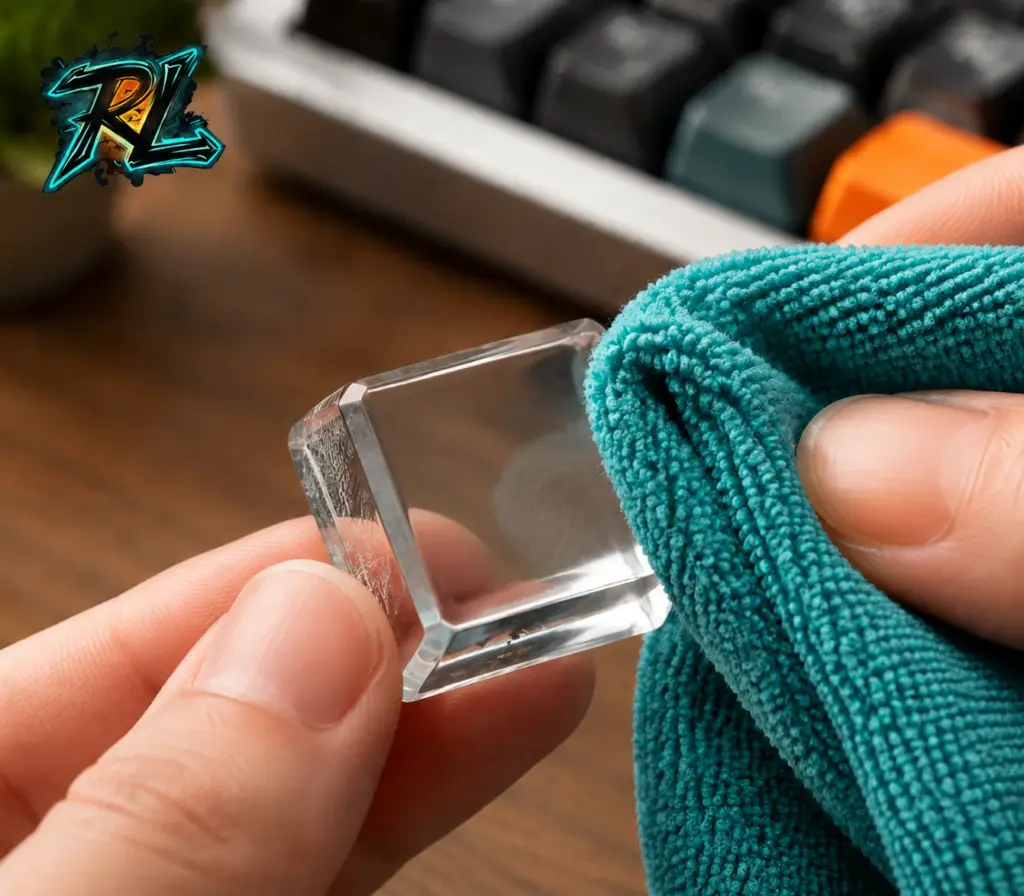
How to clean resin keycaps: A clean microfiber cloth gently removes fingerprints from the polished surface of a transparent resin keycap
How to clean resin keycaps step by step
The safest how to clean resin keycaps process uses lukewarm water, mild dish soap, and minimal pressure. Prepare everything before removing the keycaps so they will not remain exposed to accidental drops or misplaced parts.
Step 1: Gather safe cleaning tools
Prepare a wire keycap puller, a small bowl, two microfiber cloths, mild fragrance-free dish soap, cotton swabs, and an extra-soft detailing brush. A clean children’s toothbrush can be used if its bristles are sufficiently soft.
Avoid paper towels because their fibers may leave tiny marks on a polished finish. Do not use window cleaner, hand sanitizer, household spray, magic erasers, stiff brushes, polishing powder, or products containing strong solvents.
Step 2: Remove the keycaps carefully
Turn off and unplug your keyboard. Take a photograph of the layout before removing anything, especially if you plan to clean several keys.
Place the wire puller around each cap and lift vertically using slow, even pressure. Do not twist or rock a sculpted cap aggressively because lateral force can weaken its cross-shaped stem or break raised features. Hold elaborate designs by the solid base rather than horns, ears, weapons, or other thin elements.
Inspect each piece for cracks, loose inclusions, peeling paint, or separated resin layers. Damaged keycaps should not be soaked.
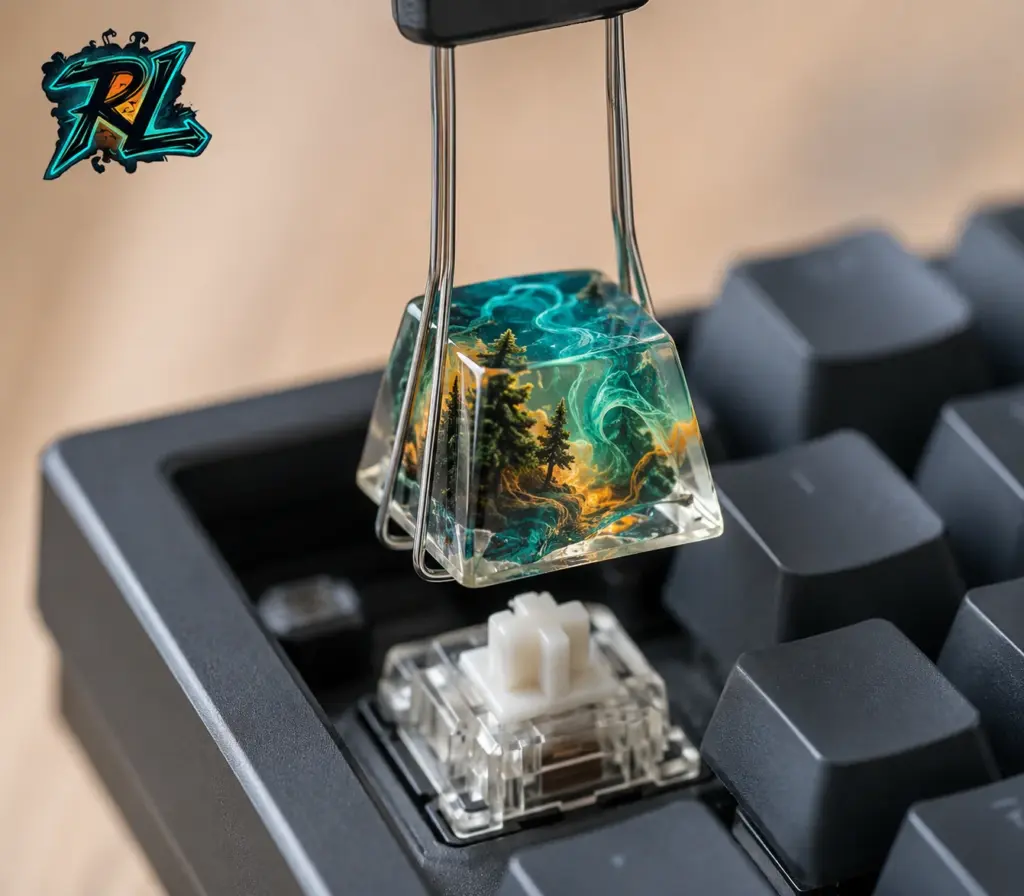
How to clean resin keycaps: A wire keycap puller lifts the artisan piece vertically, protecting both its resin stem and keyboard switch.
Step 3: Brush away dry particles
Use a dry, soft brush to remove loose dust from the top, sides, underside, and stem. This step prevents hard particles from being dragged across the glossy resin during wet cleaning.
For intricate areas, move the brush outward so debris does not collect deeper inside the grooves. Compressed air is optional, but it should be applied from a safe distance at low pressure.
Step 4: Wash with mild soapy water
A crucial part of how to clean resin keycaps is controlling the water temperature. Fill a bowl with lukewarm—not hot—water and add two or three drops of mild dish soap.
Dip a microfiber cloth into the solution, wring it thoroughly, and wipe the cap with light movements. Use a damp cotton swab or soft brush to clean recessed areas without scraping them.
A simple, fully sealed resin keycap can be soaked for three to five minutes when necessary. Do not soak pieces containing exposed paint, glued ornaments, wood, dried plants, metal parts, or unknown materials.
Step 5: Rinse and dry thoroughly
Rinse the cap briefly with clean, cool-to-lukewarm water. Alternatively, wipe it repeatedly with a separate water-dampened cloth until all soap residue disappears.
Pat the keycap dry with a lint-free cloth and place it upside down in a shaded, well-ventilated area. Let it dry completely, preferably overnight, before reinstalling it. Moisture trapped inside the stem may reach the switch. Never use a hair dryer, heater, oven, or direct sunlight to accelerate drying.
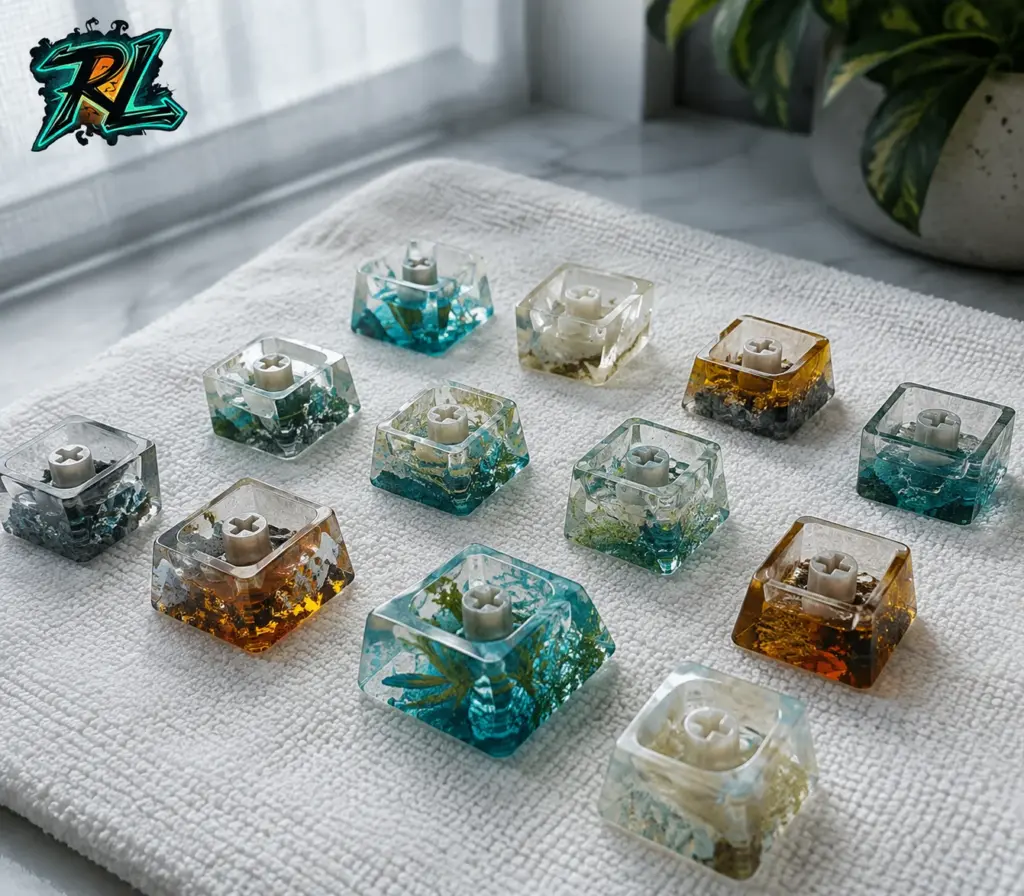
How to clean resin keycaps: Clean resin keycaps air-dry upside down on a lint-free towel in a cool and shaded location.
How to clean resin keycaps with difficult stains
Every type of grime requires a different response. Increasing the amount of cleaner or scrubbing pressure does not necessarily improve the result and can permanently alter a handcrafted surface.
Fingerprints and oily residue
For routine maintenance, start with a clean, dry microfiber cloth. If fingerprints remain, slightly dampen the cloth with diluted dish soap and clean only the affected area. Wipe it again with a water-dampened cloth, then dry it immediately.
This targeted approach is ideal for detailed pieces such as the Dragon V1 Keycap White. Its layered miniature and polished transparent shell will retain their visual depth when handled gently.
Sticky buildup in narrow grooves
Place a damp cotton swab on the residue for several seconds to soften it. Lift the grime using small circular movements instead of scraping with a fingernail, needle, knife, or toothpick.
Repeat the mild treatment when required. If glue, paint, or an unknown chemical has bonded to the resin, contact the maker before applying any solvent.
Yellow or cloudy resin
When following how to clean resin keycaps, remember that washing only removes surface contamination. It cannot reliably reverse yellowing inside cured epoxy. Internal discoloration may be caused by ultraviolet exposure, heat, resin age, or the original formulation.
Bleach, peroxide, acetone, and abrasive sanding may leave collectible keycaps cloudy or damage their embedded artwork. Prevention is safer: keep pieces such as the Vulpix Resin Keycap away from sunny windows, strong UV lamps, and excessive heat.
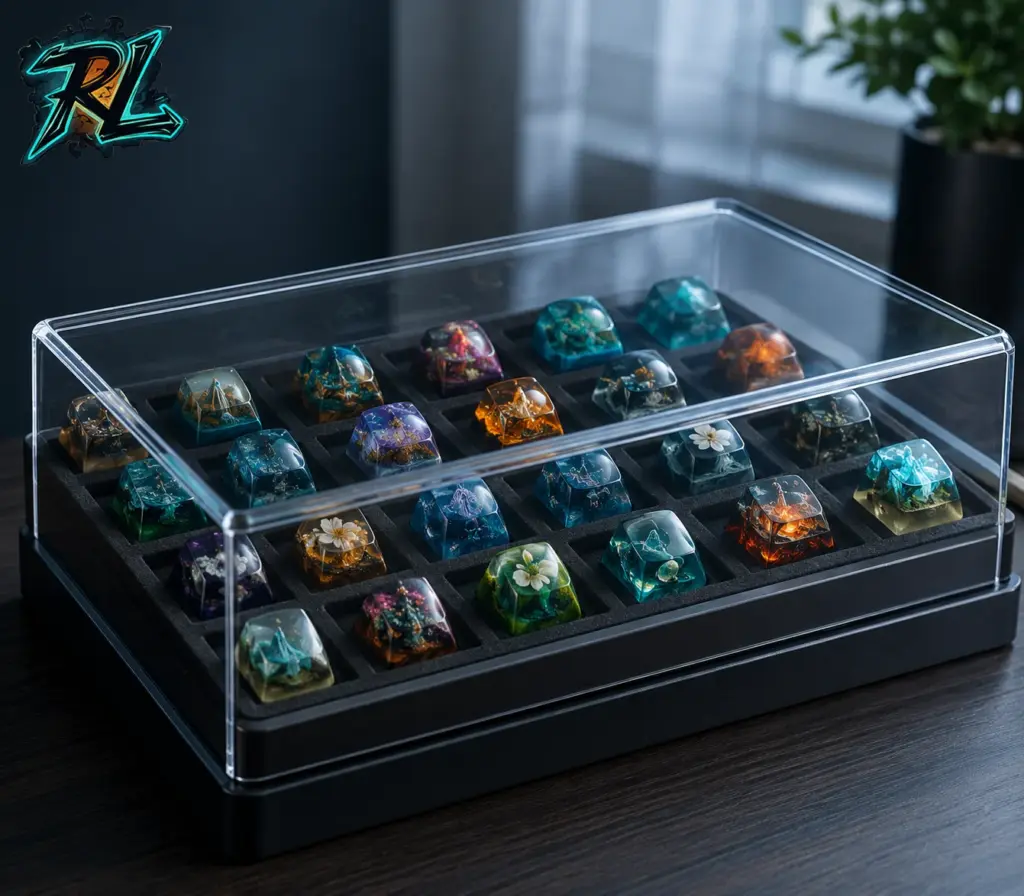
How to clean resin keycaps: A covered display case shields colorful artisan keycaps from dust, impacts, heat, and prolonged ultraviolet exposure.
Habits that protect resin keycaps over time
Correct how to clean resin keycaps practices include everyday care as well as periodic washing. A few simple habits can prevent heavy buildup and reduce the need for intensive treatment.
Create a practical maintenance schedule
Dust the keycaps every one or two weeks, depending on your workspace. Remove fingerprints whenever they appear and perform a deeper cleaning every three to six months. Frequently pressed keys may require attention sooner than decorative caps on the Escape or function row.
For consistent how to clean resin keycaps results, wash and dry your hands before typing, keep food and beverages away, and cover the keyboard when it is not in use.
Avoid common cleaning mistakes
Do not place artisan keycaps in a dishwasher or ultrasonic cleaner unless the manufacturer approves it. Avoid boiling water, steam, bleach, acetone, alcohol-based sanitizer, abrasive pads, and hard-bristled brushes.
Never reinstall a damp cap or force a tight stem onto a switch. A raised design such as the Ring Keycap should always be installed and removed vertically, with pressure applied to its solid base.
Store collectible pieces safely
Store unused keycaps in separate soft compartments so their sculpted surfaces cannot rub against one another. Keep the case in a dry, cool location away from direct sunlight. Silica gel can help control humidity, but the packet should not touch the resin.
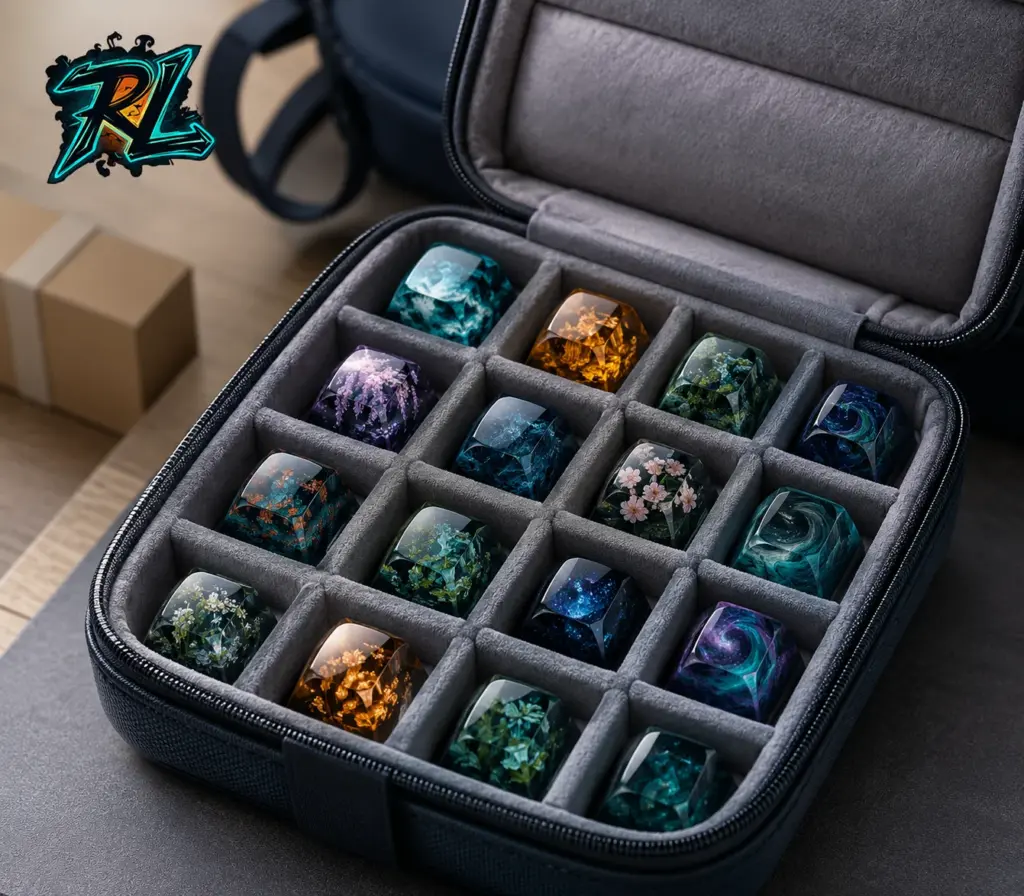
How to clean resin keycaps: Separate cushioned compartments protect polished resin keycaps from scratches during storage and transportation.
Resin Lamp LLC celebrates lasting resin craftsmanship
Learning how to clean resin keycaps helps preserve the miniature artwork sealed within every handcrafted piece. Resin Lamp LLC combines refined casting techniques with high-end aesthetics to create artisan keycaps and distinctive 3D resin nightlights.
With a representative office in the United States and a workshop in Vietnam, the brand serves domestic and international customers under export-oriented quality standards. Custom services allow buyers to select models, engrave names, or embed meaningful keepsakes in transparent resin. Dedicated LED warranty coverage and expert maintenance guidance also provide long-term peace of mind.
From Dragon, Vulpix, and Ring keycaps to personalized illuminated displays, Resin Lamp LLC turns resin into story-rich decorative art. Following the correct how to clean resin keycaps routine will help each design remain clear, colorful, and captivating for years.
Whether you’re searching for a stunning resin lamp, anime-inspired decor, or a personalized gift, Resin Lamp LLC is here!
Contact us:
📧 resinlampart@gmail.com
🌐 https://resin-lamp-llc.com/


